Monday, June 25, 2012

Sidewalk Chalk/Paint

A friend of mine told about a fun, easy recipe to make your own sidewalk chalk and I just had to try it.  Gloria and Landon had a blast with this.  The recipe is easy but just to warn you, it ends up being more like paint....so fun to use though!

All you need to make this is some water, corn starch, food coloring and a muffin tin.  No cooking involved, SO EASY!

Mix together 1 cup of water and  1 cup of cornstarch
Poor a little bit into each of the holes in the muffin tin.  I was able to fill 9 of them about 1/2 way.
After you have them filled up, add your food coloring to each hole to desired color.  
Take it outside with some paint brushes and have fun :-)

The cornstarch does settle so be sure to STIR each color well pretty much every time you are using it.  you will feel the thickness and notice a difference it how it works.

This was after we added the food coloring, we left one white.

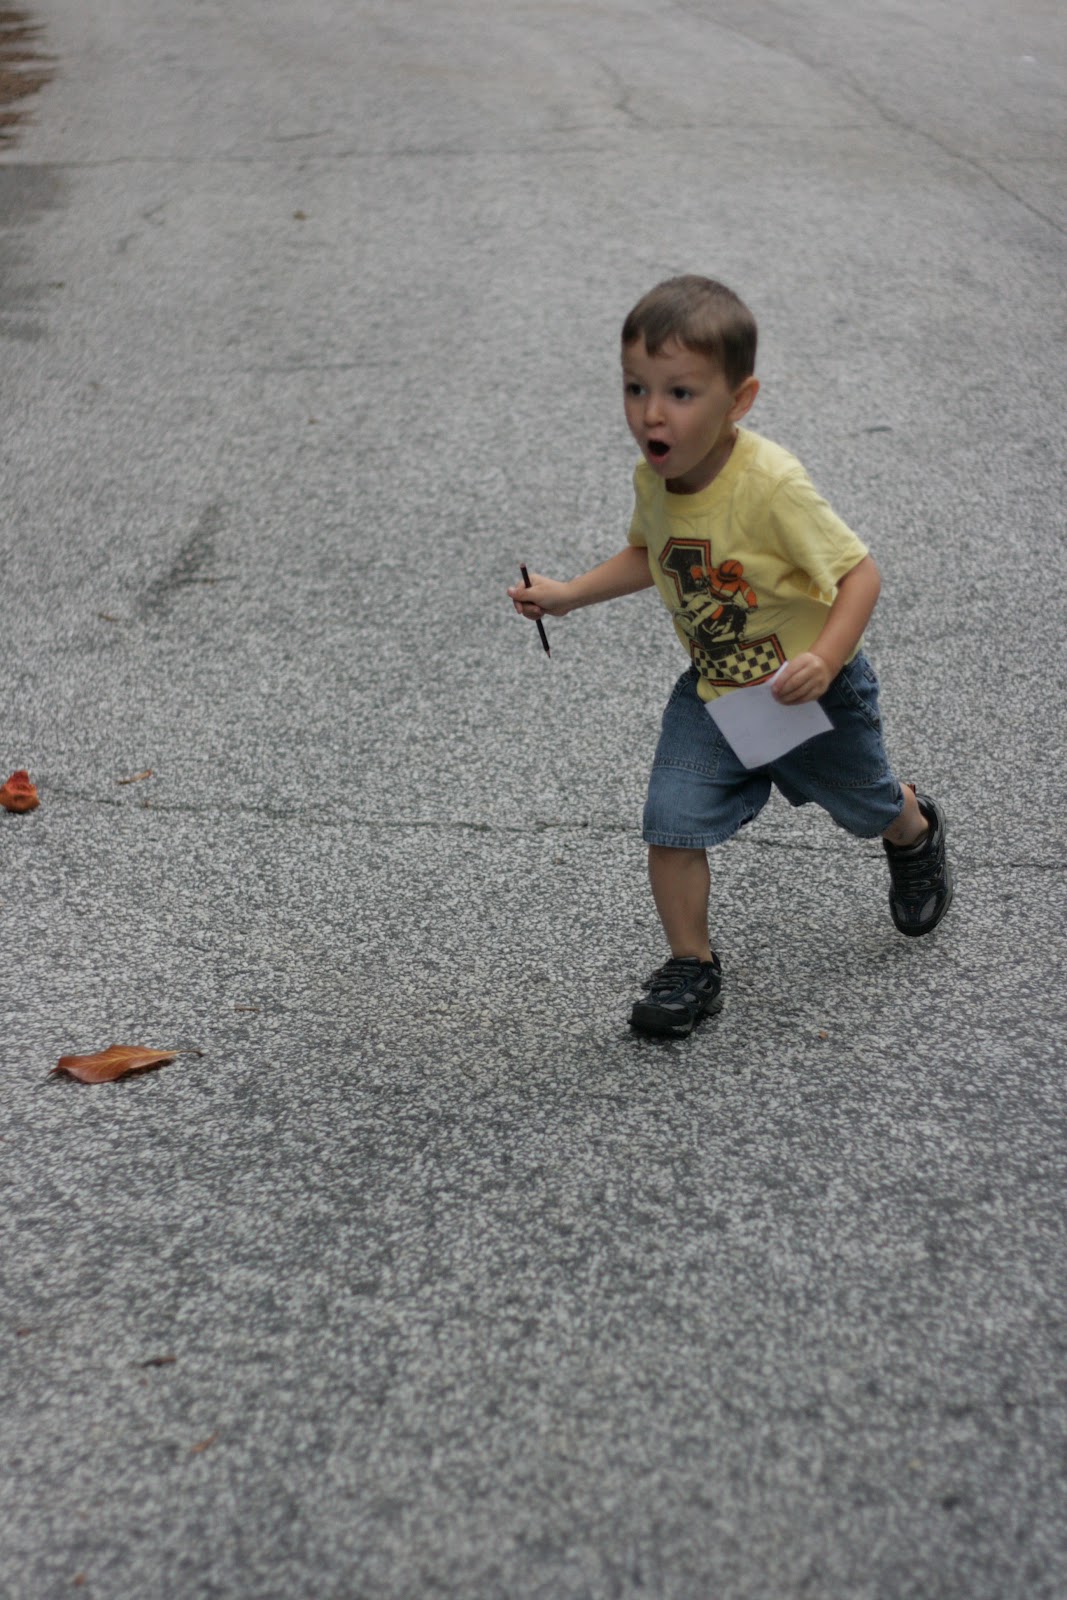
Landon's happy little face after he made his first mark on the sidewalk.

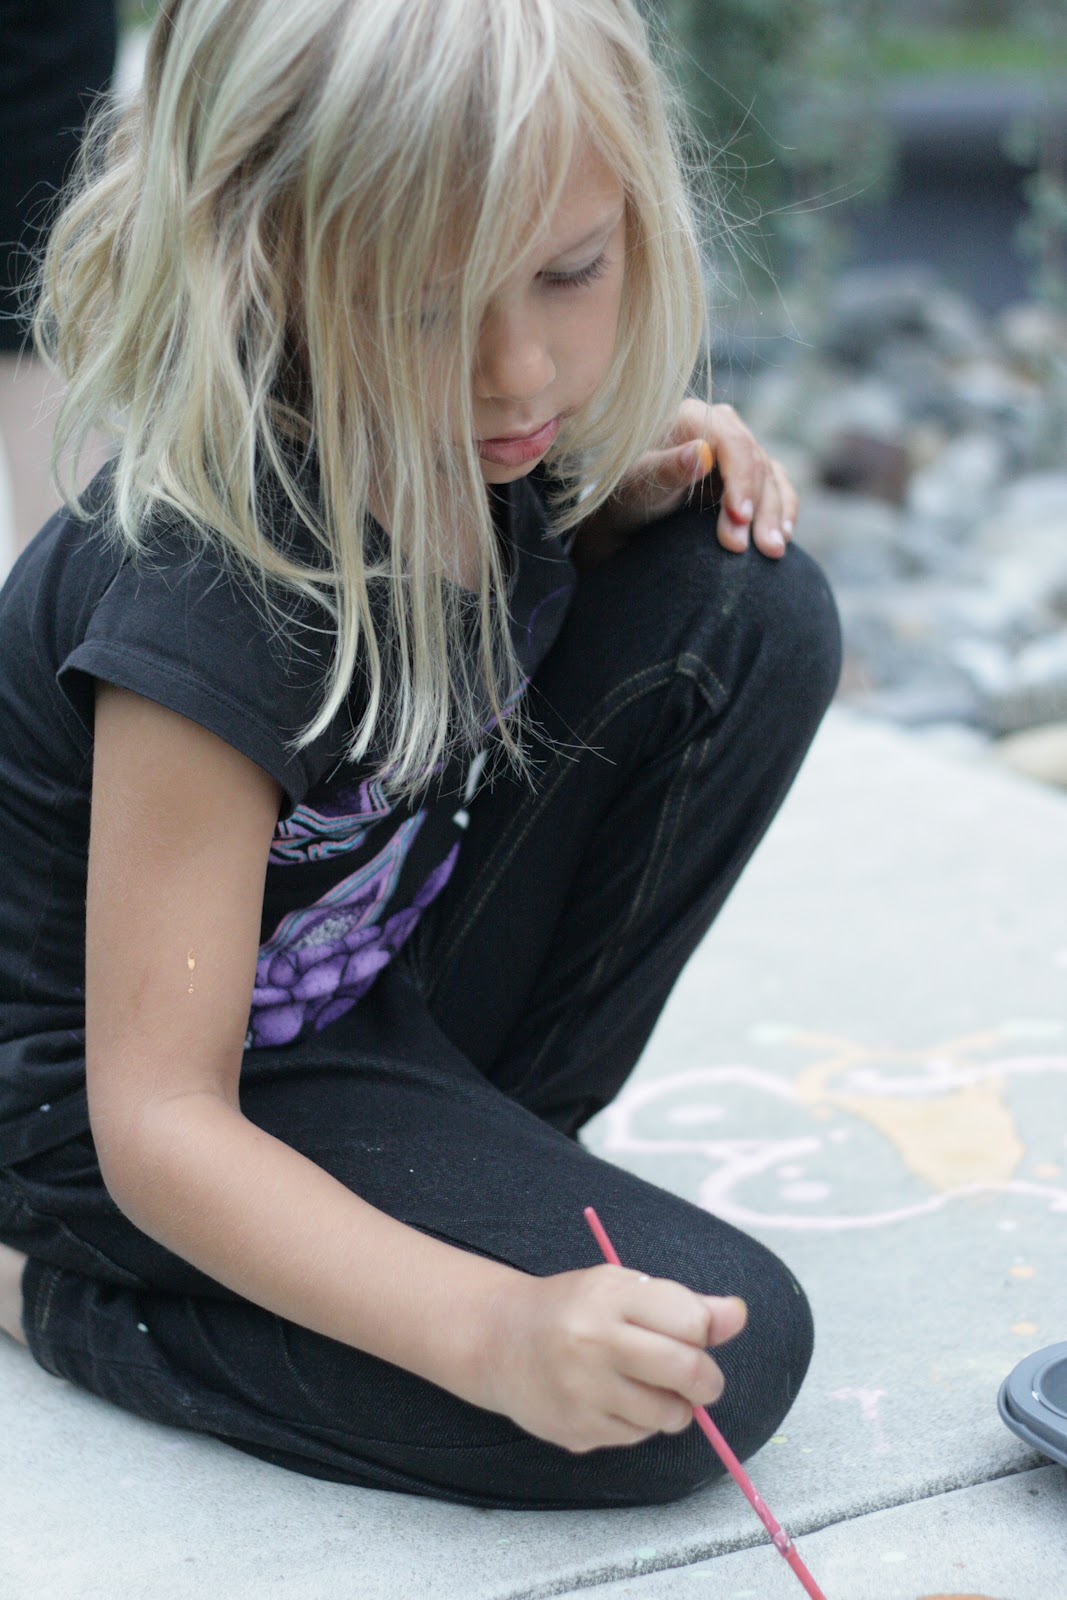
My little artist, she adored this!

Making a butterfly.  I need to invest in some bigger paint brushes.  I highly recommend BIGGER paint brushes for this project.  I only had my tiny little ones, made making these big drawings much more time consuming.


Gloria's butterfly.  They loved how it went on really wet and dried like chalk.  It was pretty cool and so pretty!


Landon's masterpiece


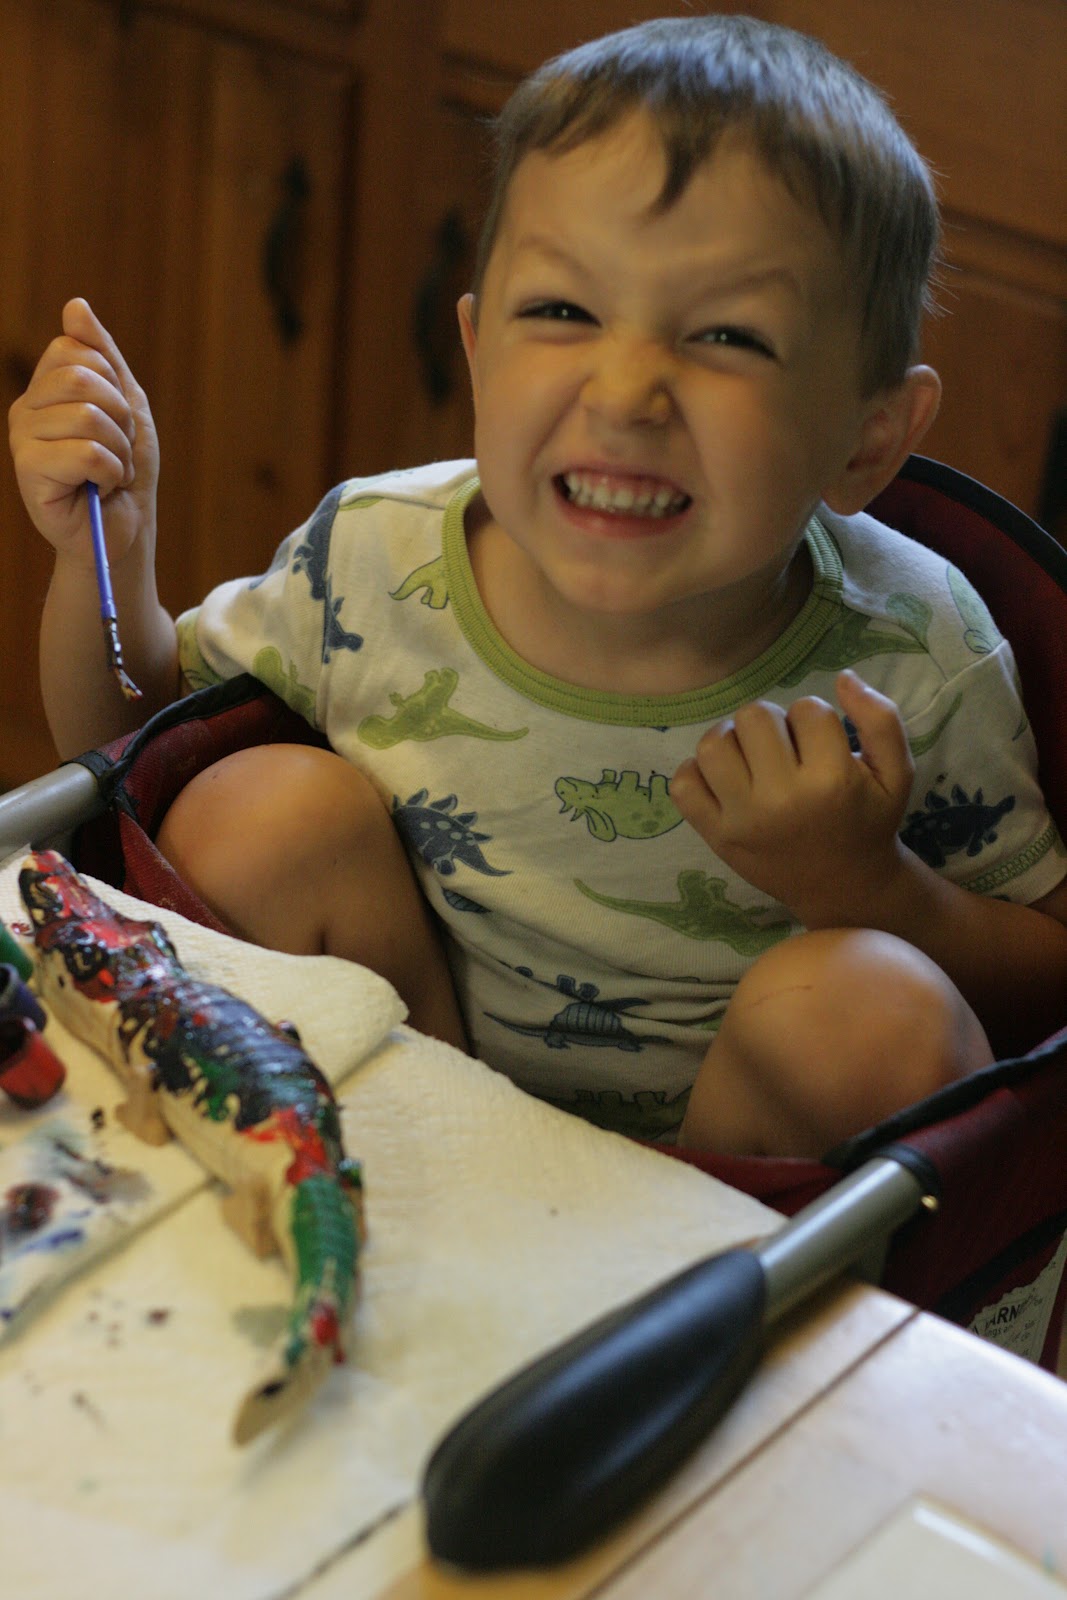
Landon decided it was cool to paint his arm too.  It WAS actually really neat. It would run down his arm all liquidy and then dry like chalk, he enjoyed watching the change happen.


We will definitely be doing this project many more times this summer!

Homemade Finger Paints

Running low on paints?  Make your own, that's what we did.  Really, this was just a fun, easy project to do with Gloria.  She loves making things and this recipe was perfect for her to take control of and do on her own.  I gently guided her with the measurements but for the most part, she made these all by herself.

Here's what you need: 
3tbsp sugar
1/2tsp salt
1/2 cup corn starch
2 cups water

Here's what you do:
Combine ingredients in small saucepan
Warm until mixture thickens (this took longer then expected)
Cool and pour into jars.  We used mason jars but baby food jars would be the perfect size.
Add food coloring to make desired colors
ENJOY!

Gloria's little hand stirring the paint.


Adding our colors

Blue, Purple, Yellow and Red.  These were fun to make and fun to use.  


Keep in mind that they are made using food coloring and some minor, temporary staining will occur, LOL  

Scavenger Hunt

It was a cloudy rainy day, perfect day for a scavenger hunt.  I printed out a free sheet I found and off we went.  They all loved it and we walked all the way around the neighborhood.


Gloria on the move, already spotting stuff.


He was quick to spot quite a few of the items. 


Landon enjoyed this most of all.  He thought it was the best thing EVER!  lol


He spotted something :-)


HAHA, he kept running and his pants were falling down.

Gloria's card all complete


This is the printable we used.  You can print this out and you cut it out, there are 4 total cards on one sheet. 


HAVE FUN!

Sunday, June 24, 2012

Painting, Painting and more Painting

One of the quickest and easiest crafts to occupy the kids is painting.  They just love it!

This is just the beginning, I promise you it will not be the last blog about painting...LOL

Just got done face painting and she is working on her wooden horse. 


Little man working on his crocodile.  He really enjoyed this project.

I just LOVE his mix of colors.


So proud of his art work.

A few days later, Gloria was working on her apple.  She had her eye on this apple for weeks at Michaels.  When we went in the other day it was on sale 60% off so I let her get it. 


BEAUTIFUL!

I love her attention to detail.  She is such my little artist!

We made it rain!

Just before bed the other night, Gloria and I decided to do a little experiment.  This didn't take too long or any crazy materials, just some water and ice.

First thing you need to do is put some VERY HOT water in a glass jar.  I recommend using something a tad more clear then the one we used.  It was a little hard to see the "rain" with the crystal design on the jar.

Anyway, hot water in jar and then put a plate on top of the jar.  Leave it like that for about 5 minutes.  Now, add a bunch of ice cubes on the top of the plate.  It doesn't take too long, after a few minutes you will see the water collecting on the bottom of the plate and it will start to RAIN and water will drip down the sides of the jar.  

Gloria was really amazed by this.  So fun!
Hot water in the jar, plate sitting on top. 

Ice added, rain has already begun.  It was really hard to get a picture of it because of the kind of jar we used. 
This was her watching and waiting patiently for the rain to start.  She is such a gem!

A little science experiment......

This is a great experiment to teach the kids about transpiration.  

We set this up in the evening and the kids woke up to a happy surprise.  

All you need is some celery, some jars, water and food coloring.  We used four colors.... red, blue, green and yellow


Face Painting FUN!!!!

Who would have thought that face painting could be so much fun?!  This has kept them occupied for MANY hours on MANY days.  They would even set up a stand outside and paint faces of the neighborhood friends. 

This was done by Rapunzel at her cousins bday party

This is Logan zombie, done at the birthday party


Mommy painted her a butterfly

ROAR!!  He loved having his face painted but did NOT sit still AT ALL.  It was a very difficult task, LOL
Logan really enjoys being the artist.  He made Gloria into a butterfly.

Such a cute little bunny.  She need a quick pair of ears so some cut up craft foam, stapler and pipe cleaner did the trick :-)

And now the scary faces begin.......

Logan, Gloria and Caleb zombies

She was supposed to be a werewolf


Caterina looking very creepy